Third part of frame - Round2
Notes from the Google Group
Z-motor-mounts - It is important that the z-leadscrew and z-smooth rod are parallel, or undue friction and stress is placed on the motor and coupler. To do this, the z-motor needs to sit quite close to the end wall of the motor mount. However, the M3 bolts that hold the z-smooth rod to the motor mount may poke out, which is not ideal. Either pack out the M3 bolts with washer (or an M3 nut), cut a couple of mm off the bolts, use shorter bolts (if available), put a hex M3 bolt in from the other side (not supplied!), or any other method you choose to avoid intrusion into the motor's space. You could even turn the motor mount over, and attach the motor on the other, flat side (just thought of that, check the z-leadscrew is long enough).
Round 2 Hot End
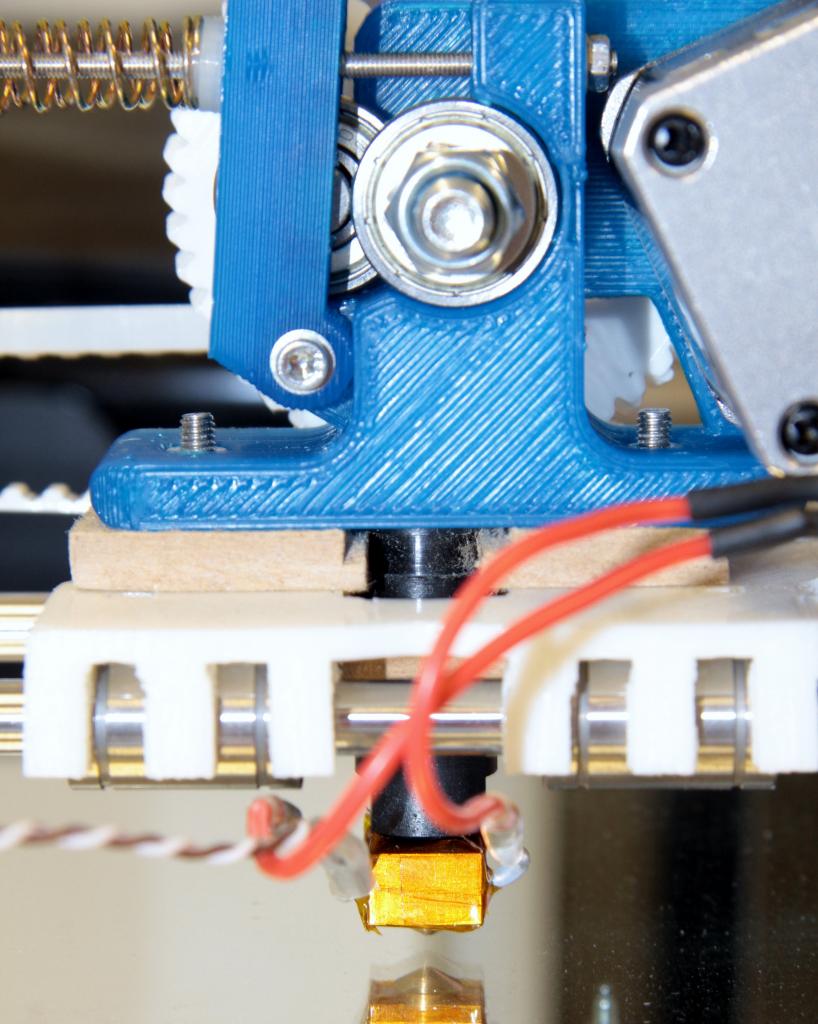
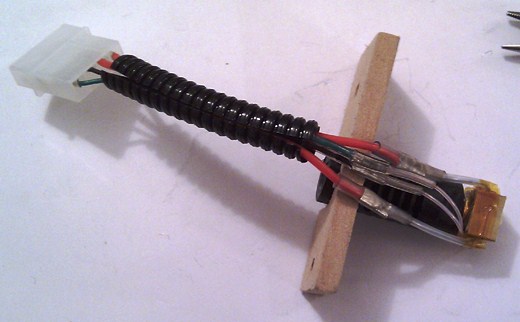
Here are some pics contributed by R2 builders of their R2 hot-ends, following on are guide notes that should help those comparing R2 Hot-End to the R1 guide
Step 1: Mk-V Hot ends do not have the aluminium cooling fins – which is an improvement in usability, since the fins got in the way to some extent. So that is all as expected. See Step 17 for the explanation about the feeler gauge and why that measurement is not needed.
Step 12: I have asked Al (folknology) for advice but I would be reluctant to file the body of the resistor. You are the first person that I know to have a resistor that is too large. It needs to be a snug fit – so I personally would get the callipers out and measure the resistor to see where it is too large. I would then use a needle file to gently widen out the brass hot end. HOWEVER, this is an extreme approach that might cause problems if you ever have to replace the power resistor (broken lead for example). If you can wait a few days I can either post you another resistor (and you can return the oversize one) or we can swap them when we meet up for me to give you your PLA filament.
Step 17: The nozzle assembly is now fitted using the MDF retaining collar(s). I believe that Wendy has posted about these previously. As a result the washer is no longer needed to hold the nozzle assembly in place. So you do not need to disassemble the hot end to fit the washer. That means that you don’t need the feeler gauge measurement in Step 1.


